Do you guys remember that part in Sex and the City when Big is in New York for heart surgery and Carrie can't stop crying, and she goes to his hotel room where he's recuperating all dressed up like a sexy candy striper to keep him company, and they play games all night, and as they're falling asleep Big is like, "Kid, what are we doing?", and we're all like, "YES! Big finally gets it!", but then in the morning they wake up and he's all distant, and dick-ish, and kicks over the dominos, and we're like, "God dammit! Why do I even watch this show?!?" ?
Yeah... me too...
This post has nothing to do with that. Except that anytime I see a fabric with thin red lines (especially if they're vertical) I inevitably think of the traditional candy striper uniform (and not necessarily the sexy kind!)
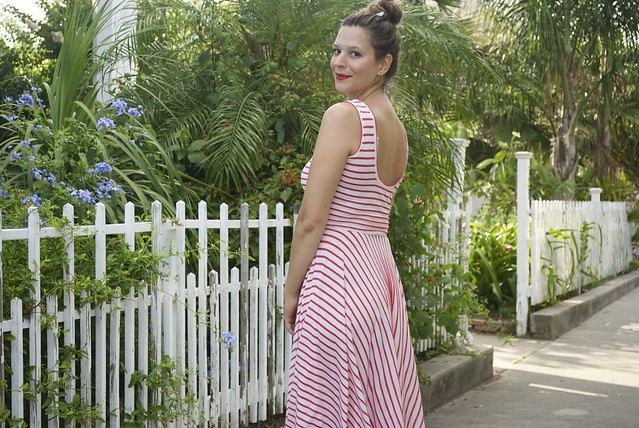
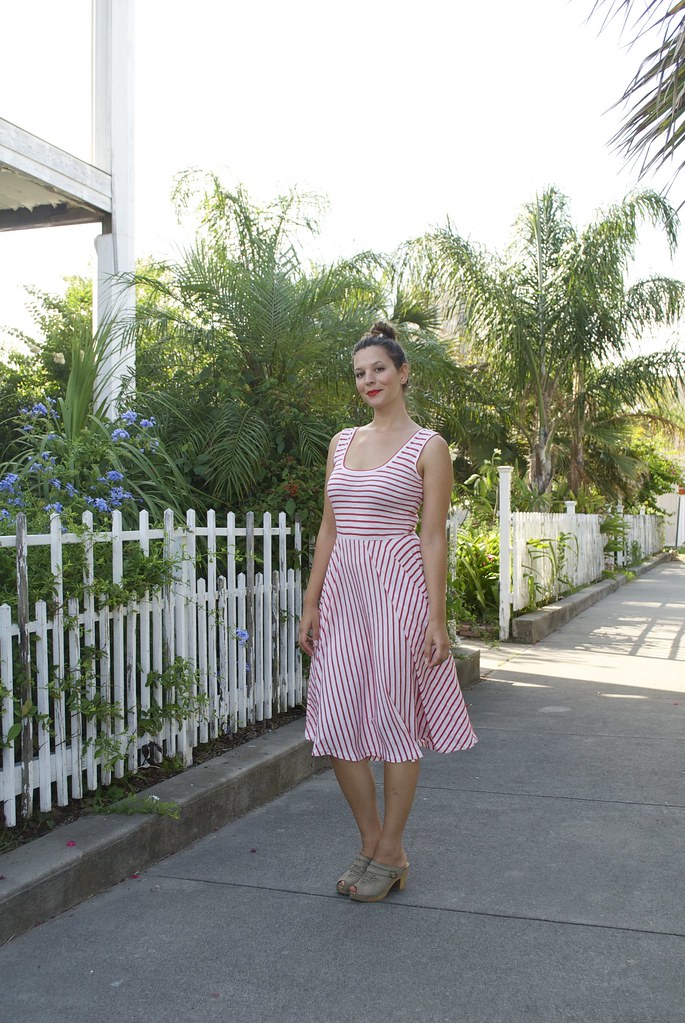
But enough of my free associating! I made a new dress! A simple, classic, easy breezy, knit dress - perfect for pulling on and feeling 'done' in a matter of seconds. I love it for work, I love it for the weekends, I love it for the swelteringly hot summer days we've been having, and for the many more that are yet to come!
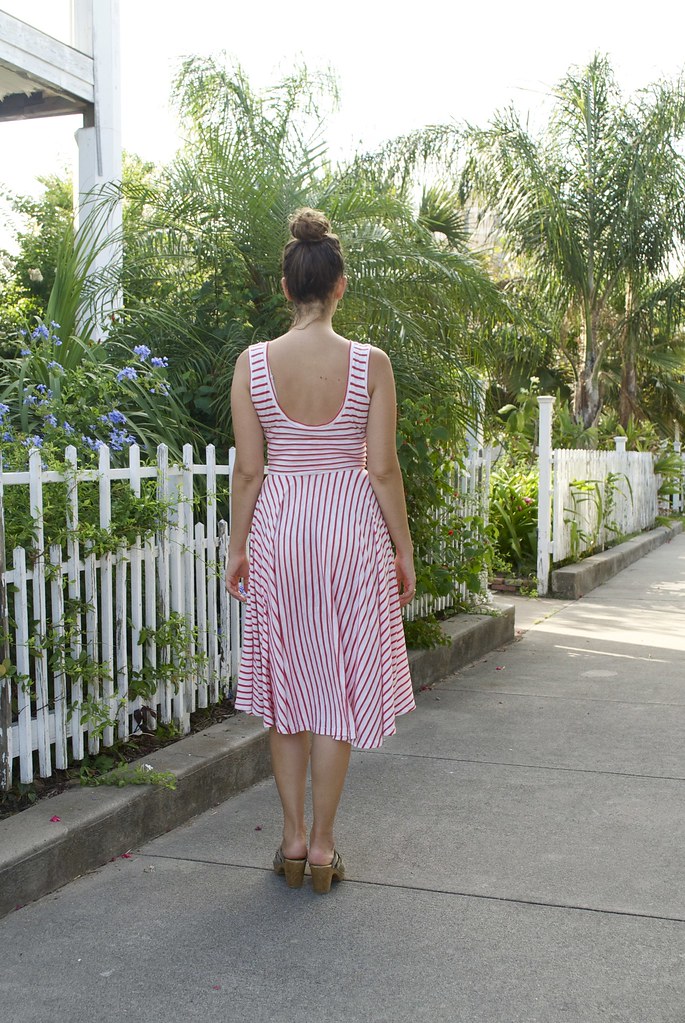
This is my first, of (hopefully) many, Nettie hack dresses (and before you even ask, yes I am aware that my hem is uneven... more on that in a bit). Ever since making my black Nettie bodysuit I've been scheming up ways to work that pattern, because that little bodysuit has been getting a lot of wardrobe play! My favorite way to wear it is with fuller skirts, so when I was planning a Nettie hack it seemed like a no brainer to pair the top of the bodysuit with a full skirt. There are plenty of patterns out there to create a similar dress (Kitschy Coo's Lady Skater dress, and Colette's Moneta come to mind, but I'm sure there are others). However, this was such an easy pattern hack that it seems a bit silly to purchase another pattern. That Nettie is proving to be quite the versatile little pattern!
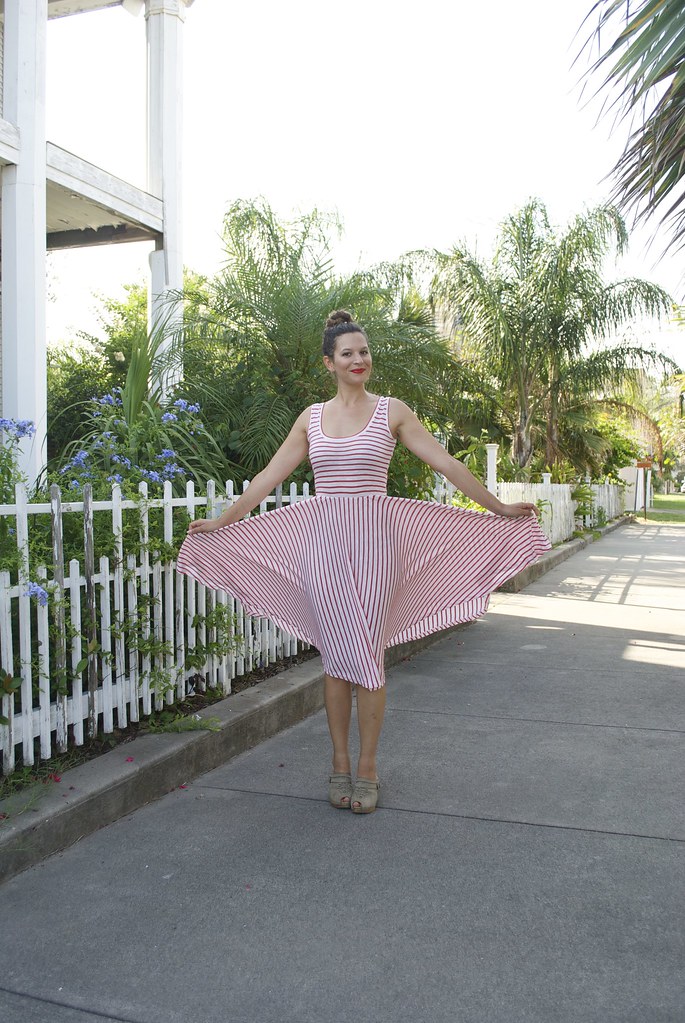
To make this I simply tried on my Nettie bodysuit, made a mark where my natural waist fell, then took it off and transferred that mark to the flat pattern (for reference, on me, it was about 1 inch below the second 'lengthen/shorten' line). Then I drafted a half circle skirt using my actual waist measurement, which is 27.5 inches, and the length I wanted the skirt to be, 26 inches (my preferred midi length), and with the help of the BHL circle skirt app, was able to figure out the maths and draw it up. I cut two half circles and sewed them together at the side seams to make a full circle (of course this was my intention all along so I took that into account when figuring out the waist radius. If this is making your head hurt, don't worry, mine hurts way worse!)
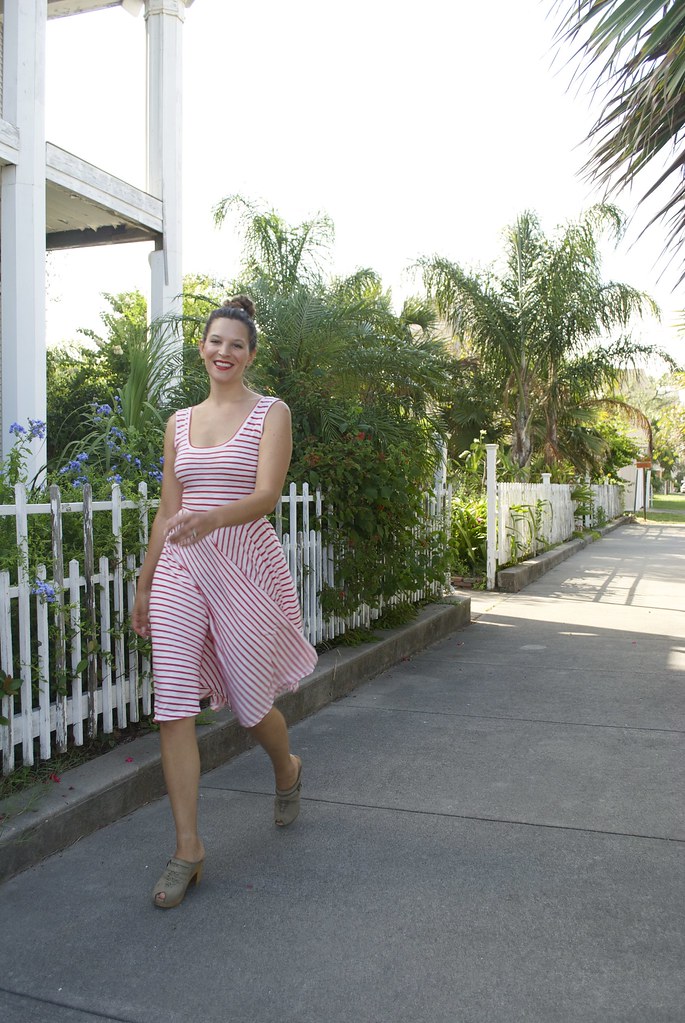
I suspect my less-than-accurate method of circle skirt drafting could use some work, because as you can see in some of these photos, the hem dips down in one area on both the back and the front. This would have been an easy thing to catch had I taken a second to try on the dress before I hemmed it, but I was in such a rush to wear the damn thing I went full speed ahead! It wasn't until I donned the finished dress and paraded out to the living room to show Nick that I discovered my error. It went a little something like this:
Me: Hey! How do you like my new dress!
Nick: (wolf whistles and other prerequisite admiring sounds) Looks great! I especially love the uneven hem!
Me: WHAT DO YOU MEAN 'UNEVEN HEM'????!!!!
Of course I could go back and fix the uneven areas, but let's be real, I'm not going to. I can live with a little hem dip if you can.
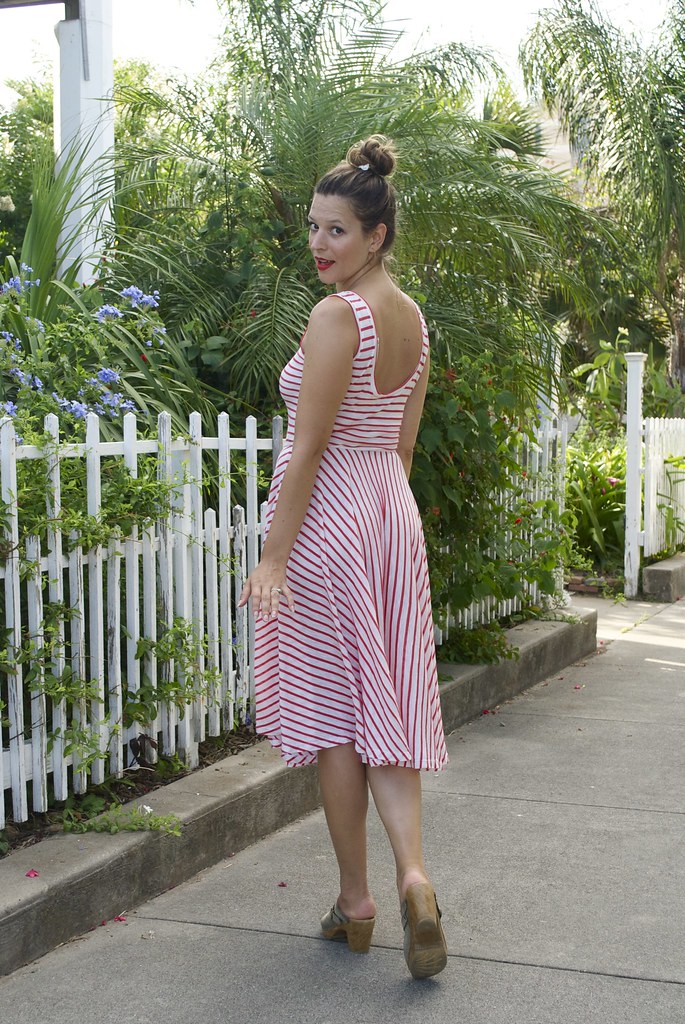
The fabric is a cotton jersey with a "Persimmon Red Slub Stripe" from Girl Charlee. It has about 30% width wise stretch, and not much vertical stretch. It's slightly sheer, but I just couldn't bring myself to line it (re: swelteringly hot) so nude undergarments are a must! I love the slightly preppy look of stripes in summer dresses, and playing with stripe direction is always fun when planning a garment. I love the way the stripes change direction across the circle skirt - it makes this garment look much more complicated than it is!
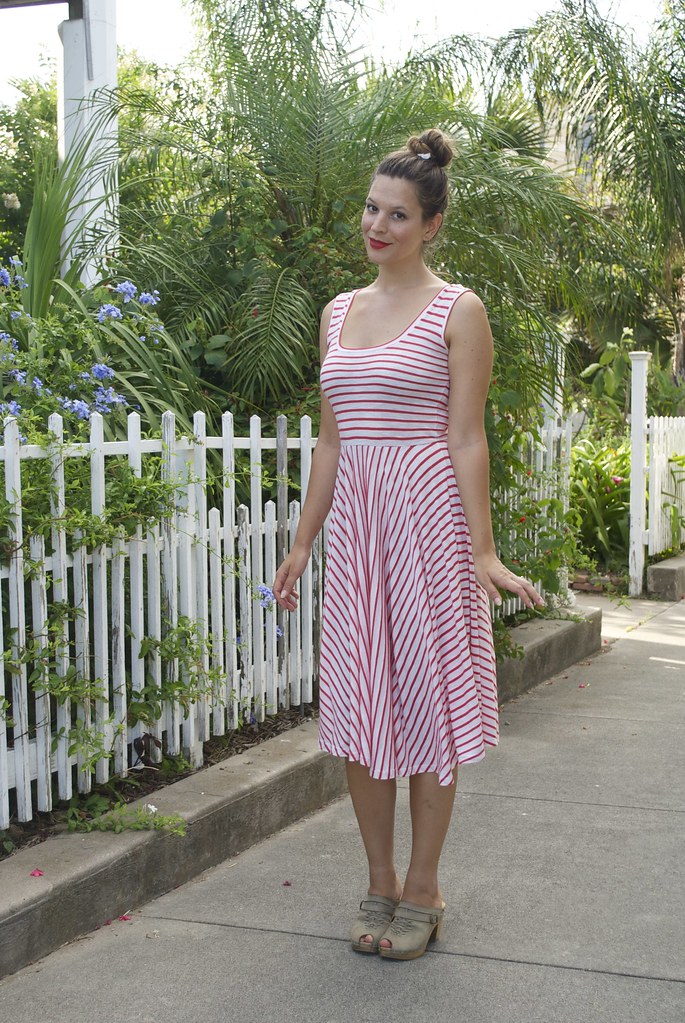
There's not too much to say regarding the actual construction of the dress. I used a long zig-zag stitch, and a walking foot, to baste all the seams before sewing them on the serger to ensure that all my stripes matched up. I used clear elastic to stabilize both the shoulder and the waist. For the waist, I cut my elastic to fit the un-stretched waist of the bodice (26 inches), then first basted my skirt to the elastic, stretching the elastic as I went to create an even gather at the skirt waist. Then I serged the bodice and skirt together. This creates a nice, straight, waistline. As you can see, I left off the sleeves to the Nettie and instead used the same flat-binding method that is used for the neckline to finish the armholes. The hem, predictably, took forever. I first serged the raw edge, then sewed a long gathering stitch along the edge, turned it up and eased in the fullness, pressed it and stitched it down with a twin needle. Besides the uneven-ness, the hem is quite pretty!
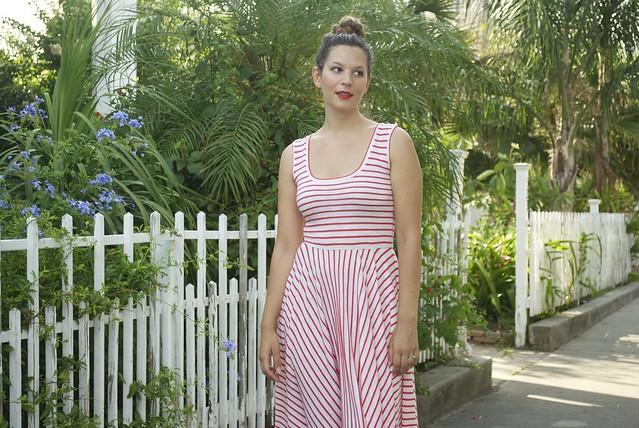
And for the second non-sequitor of this post, let's talk real quick about bodies - somehow it just feels so tied up with sewing your own wardrobe, and this dress is a great example of how making my own clothes has changed the way I feel about my body. This past weekend I was getting caught up on some blog reading and I read this post from Sarai over at the Coletterie which really resonated with me. I agree with pretty much all her points, but the one that really stood out to me was "Body Attitudes Change". Not to completely reiterate Sarai's post, but, you guys, bodies change!! And what's even more, the way we feel about our body, and in our body, and what we put on our body changes too. Even just a year ago I would not have considered this silhouette particularly flattering on me, but now, I just can't get enough of it! For the record, while my body is healthy and strong and (I feel) beautiful, I am not at my thinnest, nor my most toned. I lead an active life, but I don't really exercise, and as I get older it shows. You would think I'd be more comfortable in the looser clothes I used to favor, or ones that don't highlight my wide(er) waist, and full(er) upper body. Don't get me wrong, I still love my loose, billowy styles, it's just these days I've been feeling prettier, and more like 'myself' in curve-hugging silhouettes. At times it's almost felt like an identity crisis!
It's extremely interesting to think about the way your body evolves in relation to the way your tastes and style evolves. It doesn't always work the way you think. I can't say whether these styles, like the dress here, are 'technically flattering' for my body 'type' (whatever that means). But I do know that I feel good in them, and to my eye, I don't look too shabby either.
What about you guys, has your tastes or style evolved in relation to your body changes? Has it surprised you?

