2.25.2013

lessons in working with what you got

DSC_0012

This weekend I really got the urge to make some clothing. I mean, I pretty much always have this urge, it just doesn't always get fulfilled because of time and life and work and blah blah blahfreakingyawn. I've been sitting on McCall's 6436 for a couple of weeks now after picking it up in the last $1.99 sale (love those things). Finding a nice, normal, woman's shirt pattern seems rather tricky, but this one looked inoffensive enough, and even a bit like those Equipment blouses I've been coveting for, um, ever. I had beautiful images of a whole army of these classic, everyday blouses in easy to wear, solid, crepe-de-chine. Colors like navy. Or white. Or (lets get crazy) plum. I would wear them every day and they'd solve that weird hole in my wardrobe and I'd finally be on my way to creating a perfect, daily uniform! I'll look like a Jcrew catalogue! Wardrobe bliss shall be mine!!

But as I mentioned in my last post, I already blew my fabric budget this month and so I've been sitting on my hands until payday rolls around again (worst. feeling. ever.) Looooonnnnng Sufffferrrinnng Siiiiggghhhh.....
DSC_0002

What's a sewist to do? I'll tell you what she's to do. You put on your big girl panties, throw your stupid ideal out the window and make something! What I don't have is cash to buy more silk. What I do have is silk. Yeah. I know. Just sitting there. I always talk about how I don't really have a stash, and this is mostly true (I keep a couple yards of special fabric around, just waiting for the perfect project, like any sane person) but I did have about two yards of silk habotai that I bought for dyeing. I'm sure I had it earmarked for something special, but like I said, sometimes you just gotta throw that ideal image out the window. 

DSC_0011

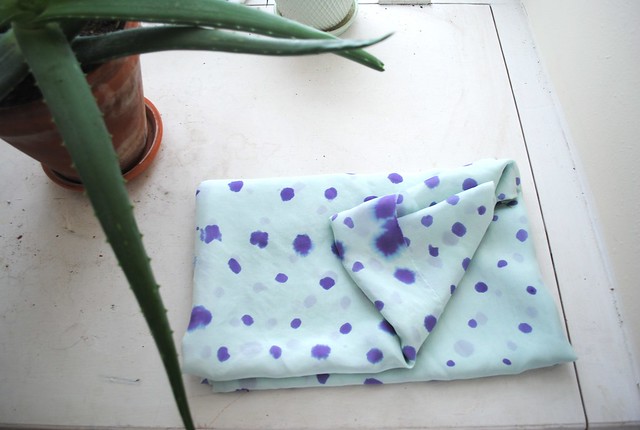
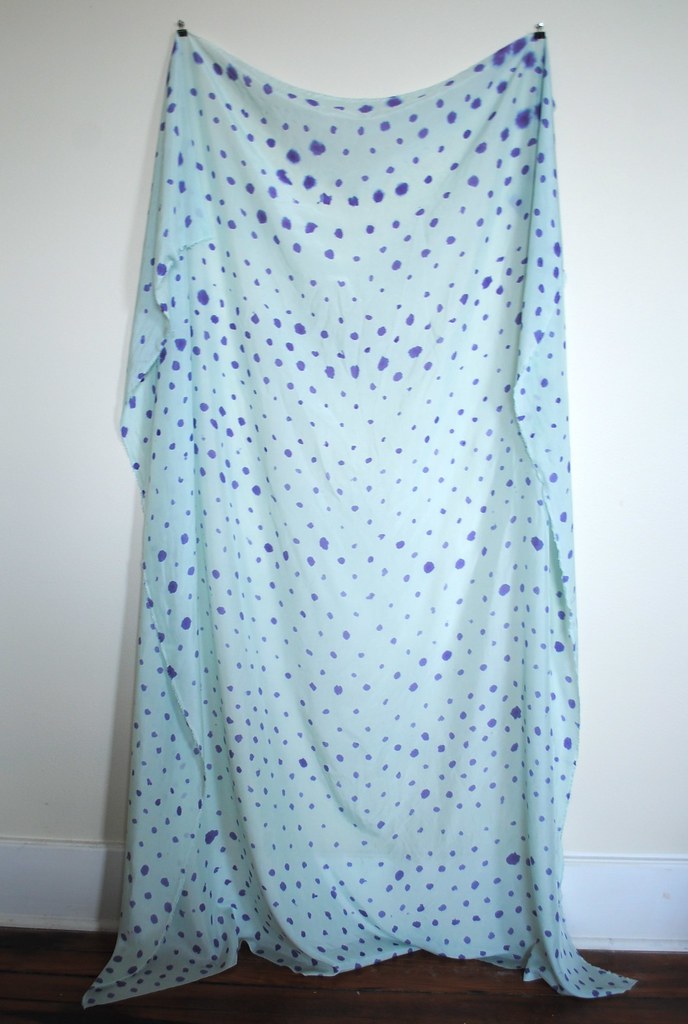
So I set to work dyeing my silk habotai. If I'm going to go to the trouble of dyeing my own fabric you can bet your butt I'm not just going to dye it a solid navy. Oh no! We're going to make it a little special. I decided to depart from my past tendency (see here or here) of haphazardly mucking the dye about until I ended up with something I didn't hate and instead tried to work off of a grid system. I also wanted something that wouldn't overwhelm my shirt pattern and so I settled on a polka-dot design (because who doesn't love polka dots?!) Of course it's me doing it so I wasn't too concerned about making the dots the same size, or too evenly spaced. I mean, the beauty of hand painting anything is being able to see the hand

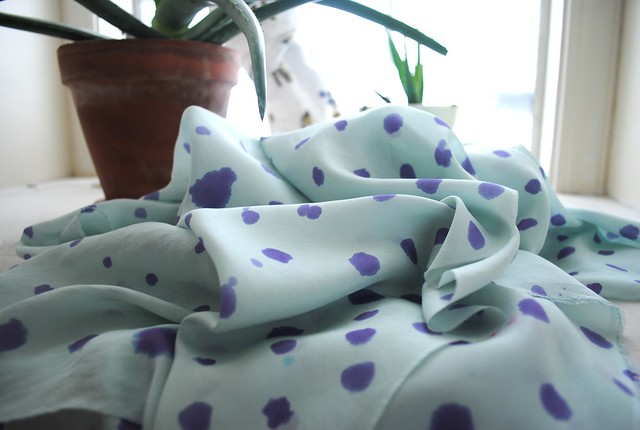
I also realized that one of the things I was never totally happy about with my past dyeing experiments was the color.  I don't know why it took me two whole tries to come to this conclusion, but it makes perfect sense. Any color "straight out of the tube" always looks a bit manufactured to me.  In painting one of the first things you learn is to mix your colors - even if you're painting a red flower, you never use the red straight from the tube. I found the same to be true of the dye colors, even the premixed colors look better when they get muddled about a bit. For this fabric I mixed "seafoam" and "steel gray" to get the subtle minty base color and then mixed "plum" and "strong navy" for the purple-y dots.  Is it obvious yet that I only bought dyes in shades of blue? I need to remedy that because I'm getting a bit bored by it! I would have liked to push the purple color more towards magenta, but alas! No warm tones!
DSC_0009

I really love the way this fabric turned out. It reminds me a bit of the playful Nani Iro prints. It has the classic look of polka-dots, but with a quirky and offhanded painterly quality. It won't make quite the understated blouse of my dreams, but I think it will be beautiful all the same. In fact, it might be even better.

Take that dream wardrobe.

Oh! And P.S. For those of you that may be wondering, I'm still plugging away at my quilt. I got two more rows done during the evenings this past week. My vehement distaste for the whole thing has, well, paled a bit. And as I said, I'm determined to finish. Because quitters never win... or in this case quitters never get cozy bedding.  

xx

2.19.2013

feeling scrappy

DSC_0047

So I'm currently in between projects at the moment. I've already spent my monthly fabric allowance on a top secret project that I can't show you yet, and you all know I'm not much of a fabric stash-er, so this weekend found me with the itch to make something, and minimal means with which to make it! 

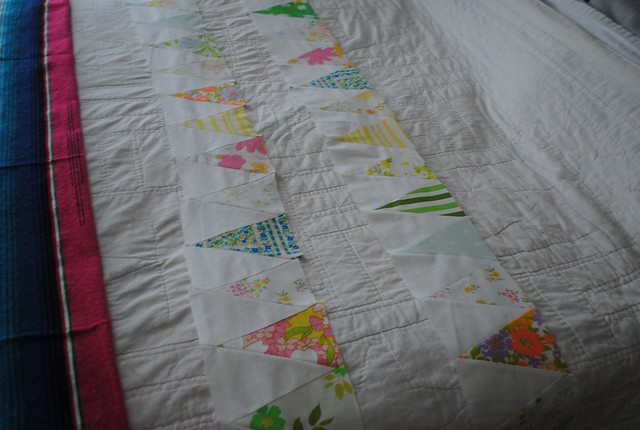
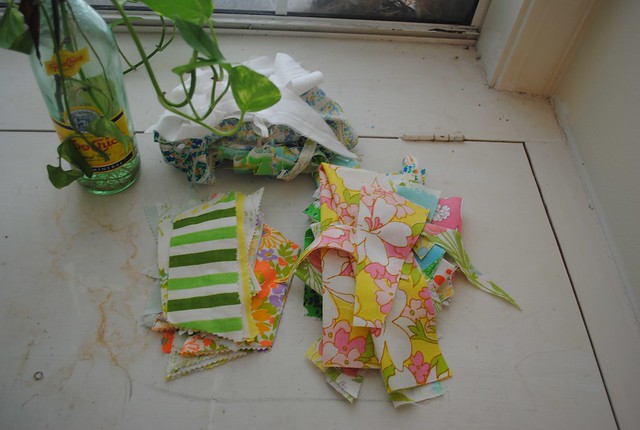
Enter the quilt that has been languishing in the dusty recesses of my brain for the past year and a half.  I think I posted about this way back when...? I remember spotting the inspiration for this quilt in the early days of my Pinterest addiction when I wasn't so jaded by the never-ending parade of pretty (and unattainable) pictures.  I thought it was genius because I had saved the fabric-scrap-bunting that I made for my wedding (an uncharacteristically sentimental move, might I add...) with the intention of making my husband and I a wedding quilt....awwwww....

DSC_0040

Never mind the fact that the idea of actually making said quilt sounded like the most horrid thing ever, and I was convinced that it was a task reserved for some circle of hell (perhaps as punishment for, I don't know, cutting out your paper patterns or some other ridiculous sewing-sin...) Or that I really have no idea how to make a quilt. So there my scraps sat.

Until this weekend! When I decided what the hell, it can't be that bad and gave it a go.

DSC_0041DSC_0044DSC_0045

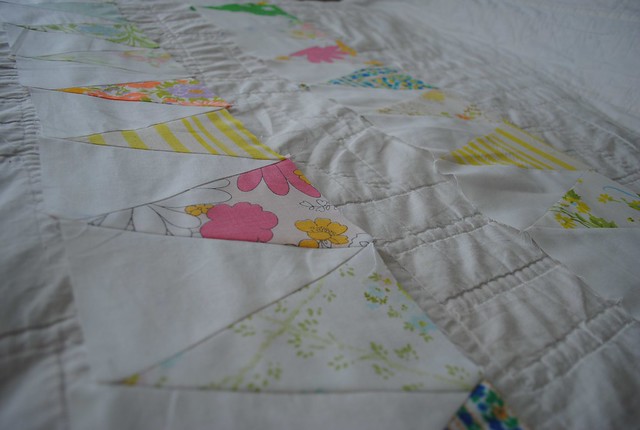
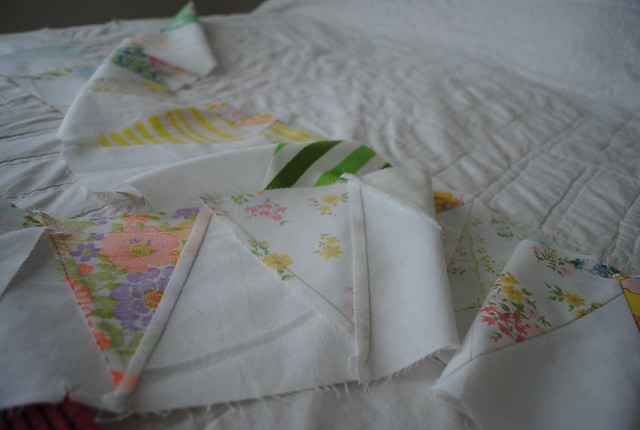
I found a couple of old toile's (ahemcloverscough...cough) that were crumpled up somewhere, ripped them apart and used them for the white triangles. The patterned triangles were ripped from my bunting and resized.  I plan on spacing out these rows with a plain white row (pretty much a dead copy of my inspiration photo).  I have no idea how many rows I'll need to make it actually fit on our bed. Alot probably. So many that I may even need to buy more vintage fabric just to make it work.  

I should also probably tell any serious quilters to please, cover your eyes! I'm sure I'm doing about a million things wrong technically but just bear with me here! I think this will work! I'm basically going about this in the same "bull in a china shop" way that I tackled learning how to sew garments. Thank god I didn't have a blog around then!! Y'all would've died of horror...

So after spending an entire day working on this, I've gotta say, I found working on a quilt to be...

DSC_0039
(please ignore the weird brown stain... our place is old... yeah... that's it... not dirty, just ollldddd...)

Yeah, no, not fun. Sorry quilters! I just don't get it! I mean... where's the fun in this? All that tedious cutting, and then at the end of it you don't even get to wear it! Don't get me wrong! I will finish this mother fucker. Oh I will finish it. And I will put it on my bed. And every single damn person that comes over to my house will be forced to look at it as I tell them that I made that bitch.  Because it may very well be the first and last quilt I ever make!!! 

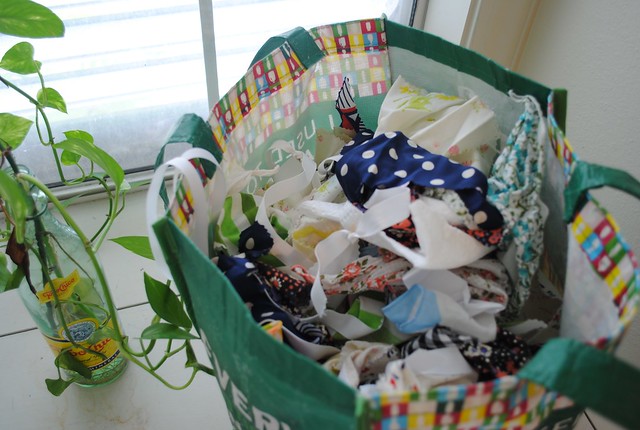
Here's what I really don't get... see that picture up there? You see, I thought I was going to get rid of my scraps by making a quilt... No. Not the case. Instead I just get more effing scraps! Just smaller ones. And more oddly shaped. What now? Do I have to make another quilt with even tiny-er pieces?? 

God? Is this what hell feels like? Is this for that vintage 60's pattern I cut? Look, I'm sorry! I didn't know!! I only just started sewing! Surely that small sin isn't worth wiling away my eternity sewing short, straight lines, cutting smaller and smaller pieces of fabric until my carpal tunnel acts up, all in the effort to put something on a bed???

Nah. I'm just kidding. This quilting business isn't so bad! It certainly is a way to kill some weekend time. But something tells me I won't be making a quilting conversion anytime soon...wink.


xx


2.11.2013

lingerie lovers beware...


Hey ladies! I just wanted to give a little shout out to my girl Maddie over at Madalynne. I know you already follow her blog (right? right?!) because it's awesome and chock full of knowledge that only us sewists can appreciate, so maybe you've already seen the big news...

Maddie is launching a line of lingerie patterns! And the first one, the Amerson undie, is available to download for free! You can get a sneak peek of the rest of the line in this super lovely photo shoot that Maddie put together. 

I actually got to take a peek at the pattern last week and it's, well, gorgeous! And I'm not talking just about the undies themselves. Everything about the design and layout is really beautiful and well-thought-out, and how incredible are Anto's illustrations?! Anyway, go snag yourself a free pattern! I'm itching to try and make these from some silky scraps that have been lingering on the edge of my sewing table for far too long. Now I just need to get my hands on some lingerie elastics... any suggestions?

xx

2.05.2013

stargazer

DSC_0079DSC_0035

This was my last make of 2012. I don't know why it took me so long to get it photographed and on the blog... actually I do know, but I'm too embarrassed to say! 

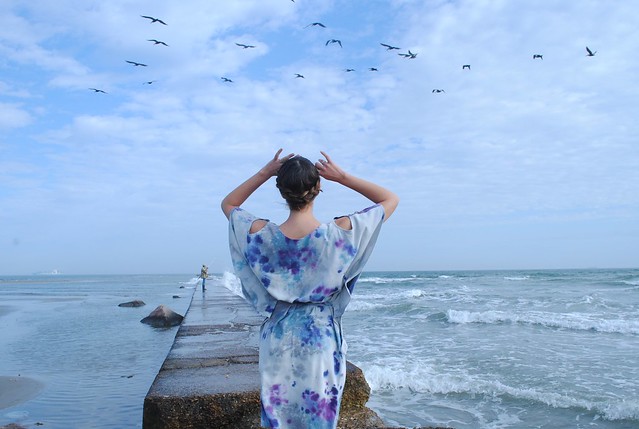
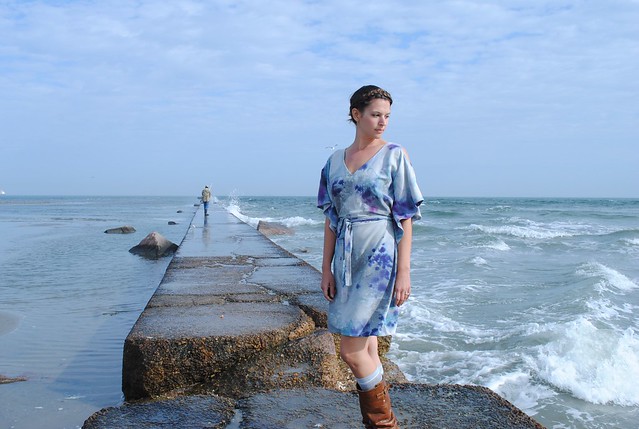
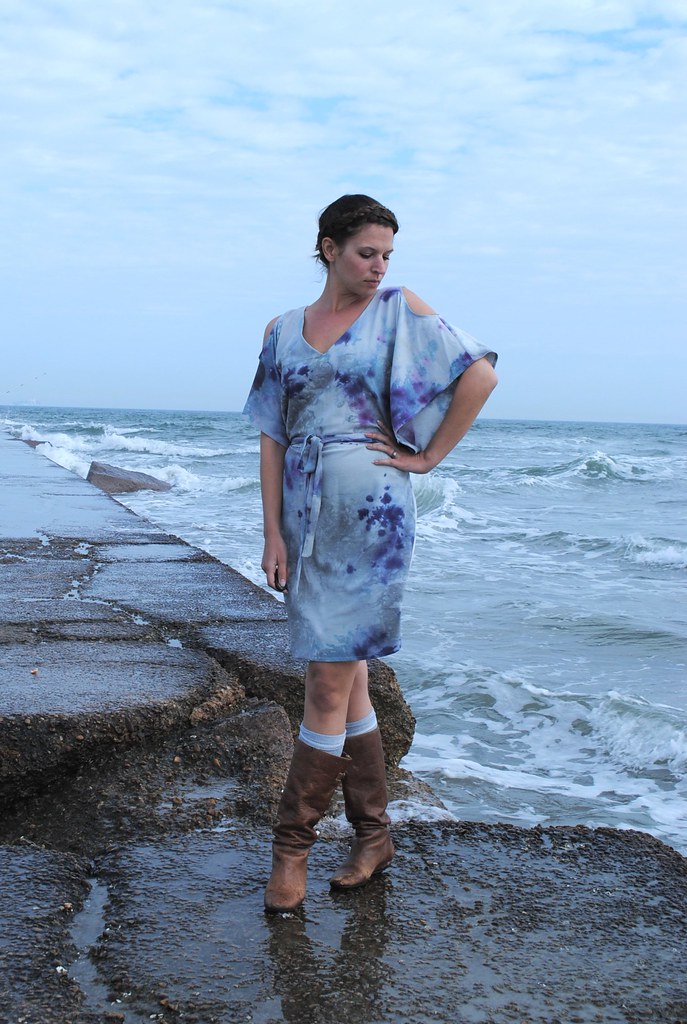
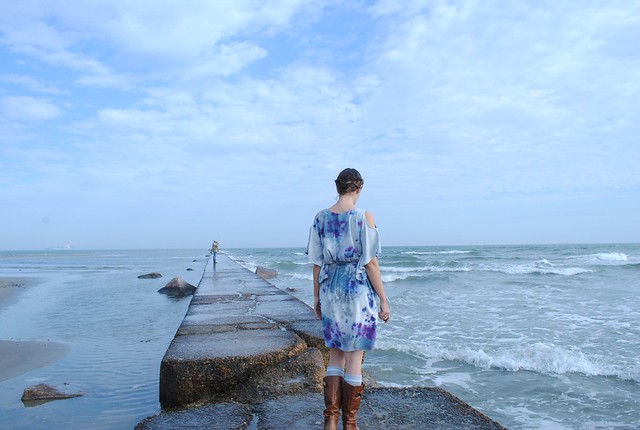
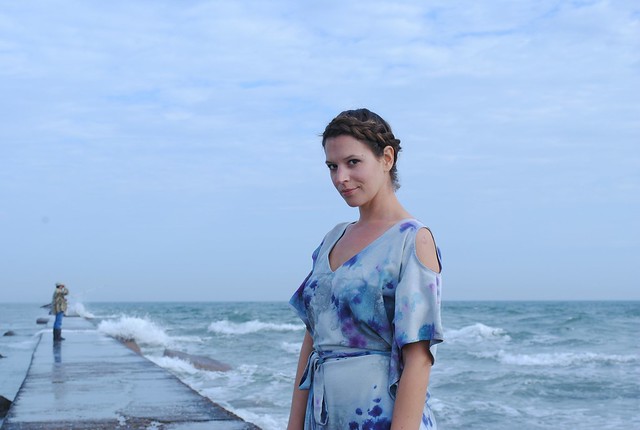
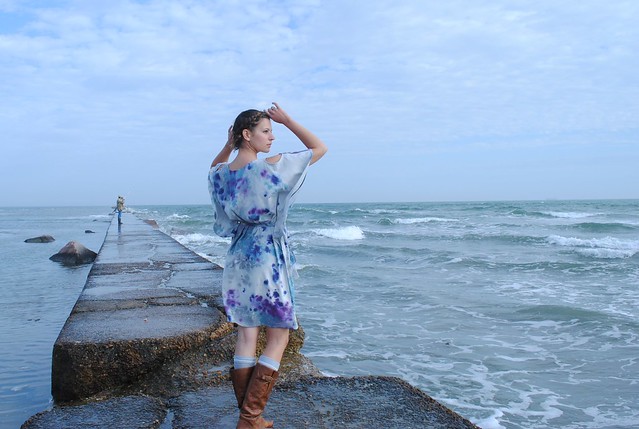
Sigh... you guys, I can't keep secrets from you! So this is what happened: I made two of these dresses right before Christmas - one for me and one for a friend. Only I seemed to miscalculate my yardage and I didn't have enough fabric to make one of the belts. No biggee, I thought, I'll just give my friend the belt and then dye some fabric to match for mine. So off her dress went in the mail (I gave a little sneakery peekery in this post) and there mine sat, un-hemmed and belt-less (and dare I say sad and forlorn?) until... oh... this weekend. Guys, I am not big on having UFO's hanging about my sewing room. I'm much more of the "finish what you started" type of sewer - for better or worse - so it was killing me that this dress was just sitting there, gathering cat hair. You see I did dye fabric but somehow it came out a crazy color, and I was genuinely stumped! So finally I gathered every last teensy scrap of this fabric I had lying around and cut out as many rectangular pieces from it as I could and made a belt out of it! I think there's something like nine sections to this belt. It actually turned out to be quite long! Wraps around twice... who woulda thought...? Lesson learned: never underestimate your scraps!

DSC_0045

This is my second time making Victory Pattern's Satsuki Dress. My friend saw the black one I made last fall and said she liked it so I thought I'd give her one as a gift. But since I'm not a totally selfless seamstress I also made one for me. This time I lowered both the front and back neckline and added about an inch of length (to make it bike-riding-appropriate... sorta). I lowered the back neckline at my friend's suggestion, so now you can wear it as a v-neck or backwards as a boat-neck. I lowered the front "v" based on my own preferences, and also confirmed my suspicions that, even given the opportunity to wear a different neckline on the same dress, I'll always choose a v-neck! It's just more comfortable and, I think, flattering on me!

DSC_0080DSC_0061

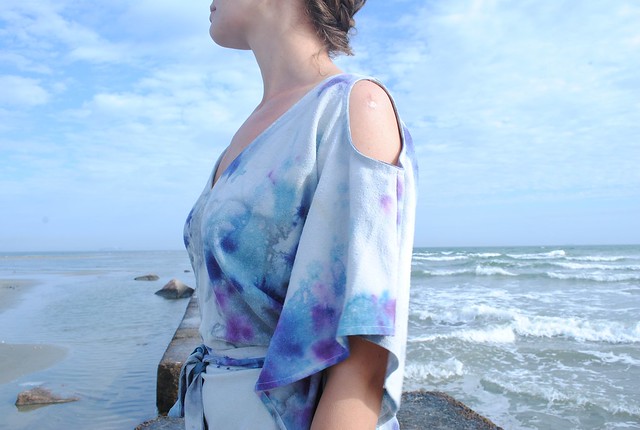
The fabric is hand dyed and painted by yours truly. It's a silk noil from Dharma Trading Co. I worked the same way I did the last time I hand painted fabric, laying out the continuous yardage and working directly on it. Unfortunately (or fortunately...? or just totally unpredictably...?) this created little bit of a variance in color and design throughout the length of fabric. Like the good person I am, I cut my friend's dress from the parts of fabric that I deemed the "prettiest" and made mine from the leftover, slightly odd parts. Not that you can really tell in these pictures, but the back has a totally different feel from the front. One of the good things about letting a project sit for as long as I did is that you can start to see it in a new light. I felt like my friend's dress had a very pretty sort of Japanese floral feel to it, almost landscape-y. Mine, however, I felt looked a bit more like I was about to go to a Grateful Dead concert. Nothing against DeadHeads, but it's not really my look.  However, give me few weeks and a bit of critical distance and now I feel like the dress is more celestial than stoner. 

This was the first time I worked with silk noil and I'm really pleased with it. After the first washing it was a bit stiff - and smelled oddly of fish - but in the second wash I used a fabric softener which brought back some it's drape, and the fish smell... well... I think it's faded...? It sewed up really really easily and pressed like a dream. The texture is kind of nubby and rough, but also somehow really comfy against the skin. I feel like this dress is as comfortable as a sweatshirt dress!

DSC_0075DSC_0081

I actually set out to take these photos twice. As usual with me, I get a pretty strong idea of how I want my photos to look and I just knew that this dress would look amazing photographed at the South Jetty - a concrete path that juts out from the East end of the island into the Gulf. The day was overcast and the colors were perfect. And best of all - no one was there!! 

Yeah, but my camera battery was dead. Foiled by the blogger's worst enemy!! So round one was a bust.  But! I was not about to be dissuaded so easily. I went home and recharged and set out again later in the day. Unfortunately in the time I was away some fishermen found the jetty, too. We only gave each other a few dirty looks before we decided to just ignore each other. However, while I was taking pictures I became a bit distracted because quite nearby, this started happening:

DSC_0086

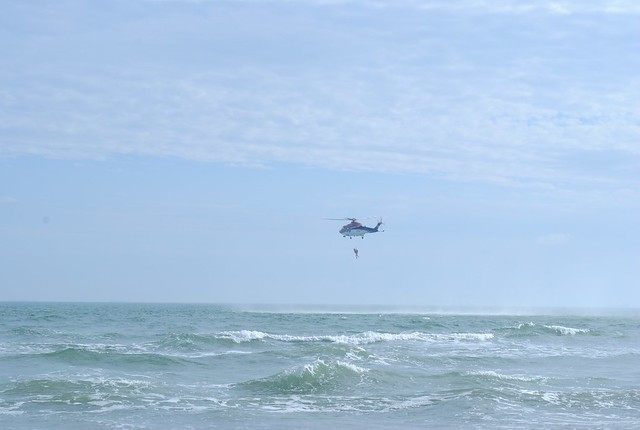
Dudes, that is someone getting their life saved!!! No joke, the helicopter rolls up, lowers down, then I see one figure descending into the water in a rope, and when they pull him back up again he's got a second person with him, flailing around in his flippers! I'm assuming since the be-flippered person was flailing that they were still alive... dead people don't flail do they?

To be honest, by this point there was quite a crowd gathering around and I didn't stick around to see what happened. You see, I generally think that if I'm being pulled out of the sea by the coast guard and I may have just survived a near-death experience, the last thing I would want is a crowd of people around to witness it! 

Okay, true story time - so I grew up going to the beach every summer (Wildwood, NJ woot woot!!) and am generally a pretty strong swimmer. My parents and grandparents made sure we all knew how to be safe in the ocean. Before I could swim I knew how to do the dead man's float and what to do if I was caught in a riptide (you swim parallel to the shore people!) Anyways, you get the idea! So one summer I go out into the water by myself and start swimming for a sand bar a bit out in the distance. As I'm swimming I hear lifeguard whistles, but I figure it's no biggee, probably for people that were swimming too far out. I make it to the sand bar, climb out, turn around and see a lifeguard hurtling at me through the water! Apparently I had been caught in a current that had pulled me way far off from the point I entered the water! (P.S. I would've figured this out when I decided to make my way back to shore, and could've like, you know, walked back to where my towel was...) The lifeguard insisted I hold on to his red-hot-doggie-looking-flotation-thingy and he made me come back in to shore, right then, where - wouldn't ya know - a huge crowd had gathered! You guys... I was mortified!! I was, like, 20 when this happened!  And the lifeguard was cute, of course! I mean, maybe I really was in real danger and I didn't know it, but mostly I was embarrassed! 

By the way, I don't think my story has anything to do with this guy getting saved by a helicopter - just maybe tangentially related...? You know... water saving stories and all that...? Yeah? No? Maybe... just a little?

Alright, folks, I'm out!!! Have a good Sew Grateful Week! And know that I am sew grateful to all you readers and for this lovely sewing community I've found myself a part of. 

xx